Crochet Triceratops Snuggle Pattern Lovey Guide
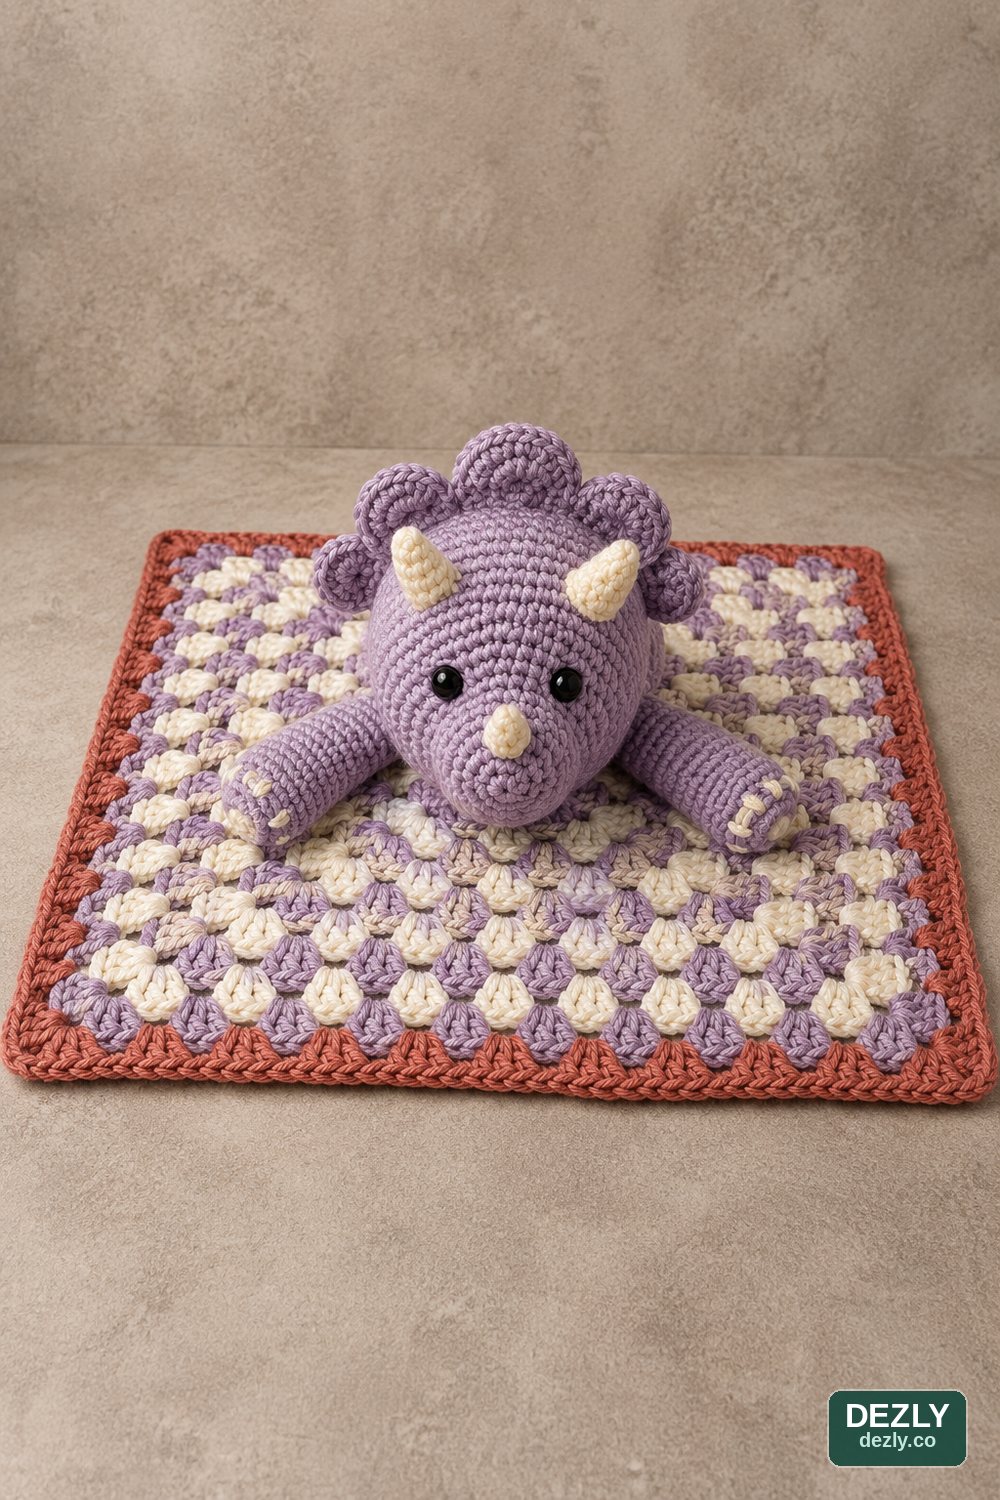
Work a granny-square blanket, shape a dinosaur head with a front-loop muzzle ridge, then add three horns, five frill bumps, and two legs to finish the snuggle. The edited pattern also corrects the granny-square repeat so all four sides gain clusters, and resolves the round-count conflict.
- Pieces
- 12 crocheted pieces
- Hooks
- 5.5 mm and 3.75 mm
- Yarn
- Worsted weight
- Length
- 2,417 words · 12 min
Read the safety note about plastic eyes first. Make the blanket, then the head, bumps, horns, and legs, and use the folding checks before the snuggle is handled.
Materials, scope, and pattern notes
Materials and tools
- 5.5 mm crochet hook for the blanket
- 3.75 mm crochet hook for the head, bumps, horns, and legs
- Worsted-weight yarn, size 4, in one or more colors
- Two 12 mm safety eyes, or black embroidery thread for embroidered eyes
- Polyester fiberfill
- Stitch markers
- Yarn needle
- Scissors and pins
Project details
- Pieces
- 12 crocheted pieces: granny-square blanket, head, 5 frill bumps, 2 forehead horns, 1 nose horn, and 2 legs
- Skills used
- Granny-square rounds, chain spaces, magic ring, continuous rounds, flat rows, increases, decreases, front and back loops only, embroidery, and seaming
- Hooks
- 5.5 mm blanket, 3.75 mm amigurumi pieces
- Yarn
- Worsted weight, size 4
- Gauge and size
- Not provided; the blanket and snuggle dimensions depend on yarn, tension, hook, and how many rounds you work
- Yarn quantity
- Not provided
- Terminology
- US crochet terms
Make the blanket first, then the amigurumi pieces, so the head and legs can be positioned against the finished square rather than guessed at. The blanket is worked in joined rounds with a slip-stitch join at the end of each round. Work the head, horns, and legs in continuous spirals, and work the frill bumps back and forth in rows with a turning chain. This edited convention resolves the joining method the source pattern leaves unstated for the amigurumi pieces.
The source pattern does not specify yarn fibre, yardage, gauge, or a finished measurement, so no size is promised here. Because the blanket grows by one cluster per side every round, you control the final dimensions directly through the round count. Crochet a swatch of four rounds, measure it, and multiply if you need to hit a specific size before committing to a full colour sequence.
Abbreviations and counting
| Abbreviation | Meaning |
|---|---|
| mr | magic ring |
| st / sts | stitch / stitches |
| ch | chain |
| sc | single crochet |
| dc | double crochet |
| dc 3 | a cluster of 3 double crochets worked into one space |
| inc | work 2 single crochets in the same stitch |
| dec | single-crochet decrease over the next 2 stitches |
| ss | slip stitch |
| BLO / FLO | back loops only / front loops only |
| FO | finish off and fasten the yarn |
Parentheses show a sequence to repeat, and “×” shows how many times to repeat it. Brackets give the stitch total once the round or row is complete. On the blanket rounds the beginning ch 2 stands in for the first double crochet of the first cluster and is not counted separately.
Granny-square blanket
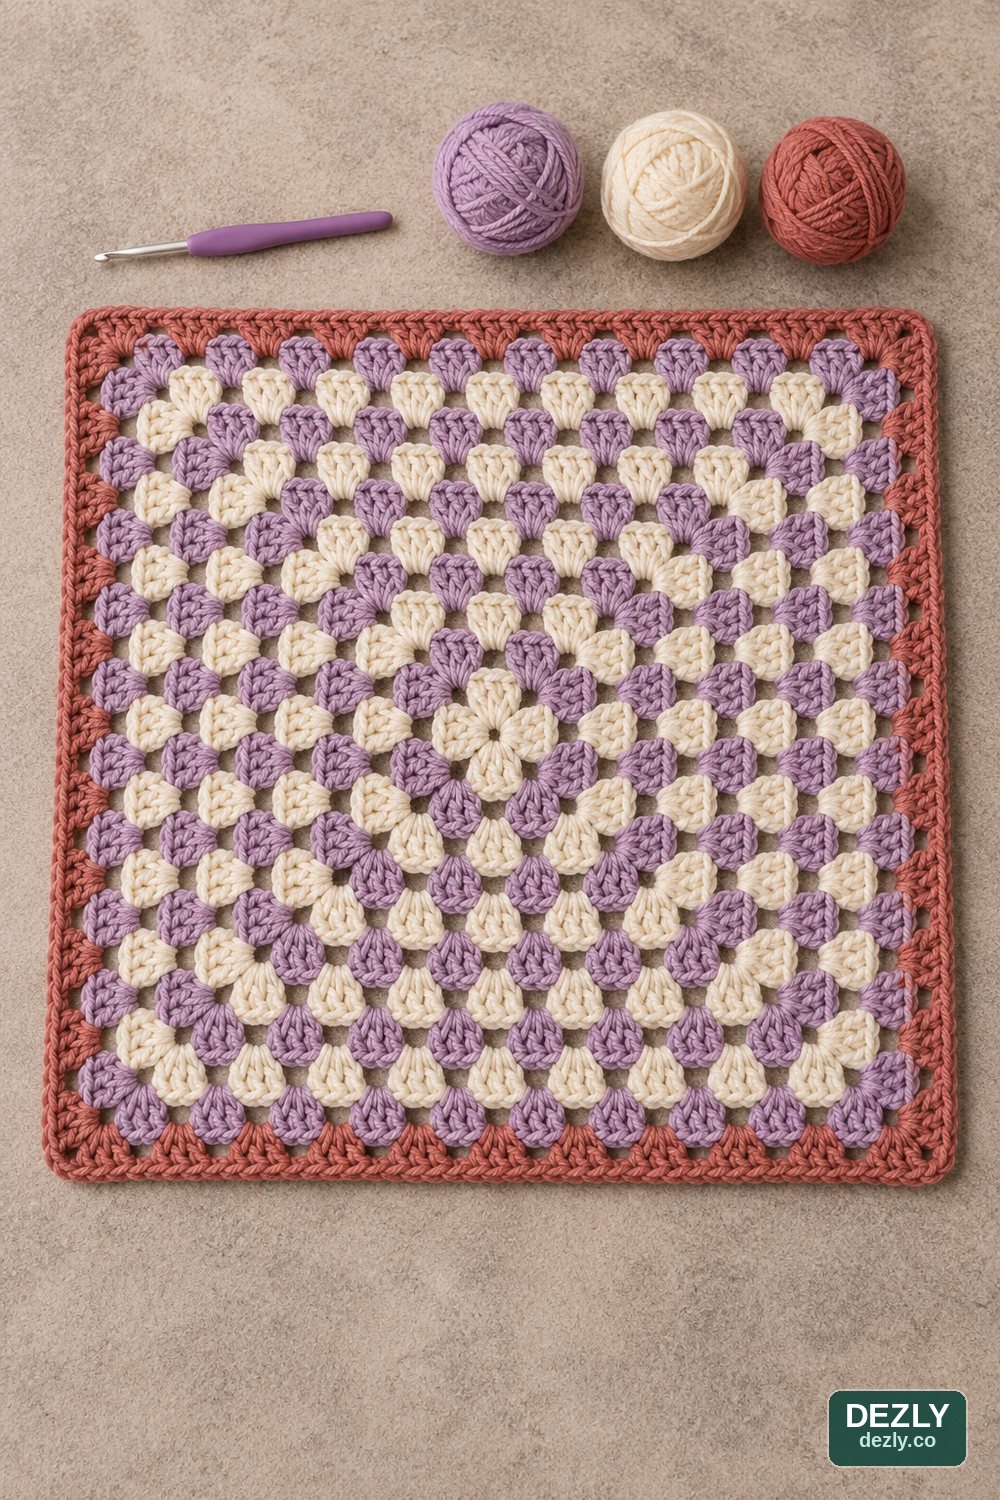
Use the 5.5 mm hook. Change colour every round for stripes, or stay in one colour and slip stitch across to the next corner instead of fastening off. Each round adds one cluster to every side, so Round 3 has three clusters per side, Round 4 has four, and so on.
Round 1Into a mr: ch 2 (counts as the first dc), dc 2, ch 3, (dc 3, ch 3) × 3; ss into the top of the first cluster [4 clusters, 1 per side]
Round 2Join in any ch-3 corner space: ch 2, dc 2, ch 3, dc 3, ch 2; then (dc 3, ch 3, dc 3, ch 2) in each of the next 3 corner ch-3 spaces; ss into the first st [8 clusters, 2 per side]
Round 3Join in any ch-3 corner space: [(dc 3, ch 3, dc 3, ch 2) in the corner space, then (dc 3, ch 2) in the next ch-2 space] × 4, working ch 2 and dc 2 in place of the very first cluster; ss into the first st [12 clusters, 3 per side]
Round 4Join in any ch-3 corner space: [(dc 3, ch 3, dc 3, ch 2) in the corner space, then (dc 3, ch 2) in each of the next 2 ch-2 spaces] × 4, working ch 2 and dc 2 in place of the very first cluster; ss into the first st [16 clusters, 4 per side]
Rounds 5–14Repeat in the same fashion, adding one more (dc 3, ch 2) side cluster in each of the four repeats every round; ss into the first st to close each round [Round 14: 14 clusters per side]
Fasten off and weave in the ends at the close of every round when you change colour, and slip stitch across to the next corner when you do not. Blocking the finished square before assembly makes it far easier to centre the head and space the legs evenly.
Head
Use the 3.75 mm hook for this and every remaining piece. The head is the most shaped part of the project: it grows a muzzle from a front-loops-only round, widens across the cheeks, holds 54 stitches for ten rounds, then mirrors the increases with matching decreases.
Round 1mr, sc 6 [6]
Round 2inc × 6 [12]
Round 3(sc 1, inc) × 6 [18]
Round 4(sc 2, inc) × 6 [24]
Rounds 5–7sc around for 3 rounds [24]
Round 8Working in FLO: inc × 3, sc 9, inc × 3, sc 9 [30]
Round 9(sc 1, inc) × 3, (sc 2, inc) × 3, (sc 1, inc) × 3, sc 9 [39]
Round 10(sc 2, inc) × 3, (sc 3, inc) × 3, (sc 2, inc) × 3, sc 9 [48]
Round 11sc 13, (sc 1, inc) × 6, sc 23 [54]
Rounds 12–21sc around for 10 rounds [54]
Round 8 is worked entirely in the front loops. That single change leaves a visible ridge right around the piece, and the unworked back loops stay available as the edge of the muzzle. Keep the sc 9 groups aligned with one another as you continue, because they form the flat underside of the jaw while the increases build the top of the snout.
Place the eyes between Rounds 9 and 10, nine stitches apart, sitting above the muzzle ridge. Check that they are level with each other and equally distant from the centre of the snout before fixing them, then read the small-part warning above before choosing plastic eyes over embroidery.
Round 22(sc 7, dec) × 6 [48]
Round 23sc 3, dec, (sc 6, dec) × 5, sc 3 [42]
Round 24(sc 5, dec) × 6 [36]
Round 25sc 2, dec, (sc 4, dec) × 5, sc 2 [30]
Round 26(sc 3, dec) × 6 [24]
Round 27sc 1, dec, (sc 2, dec) × 5, sc 1 [18]
Round 28(sc 1, dec) × 6 [12]
Round 29dec × 6 [6]
Rounds 23, 25, and 27 begin and end with plain stitches so their decreases fall between those of the previous round. That offset is what keeps the back of the head smooth instead of pulling it into six visible seams. Finish off with a long sewing tail and bring the tail out through the centre bottom of the head, where it will be used to join the head to the blanket. If you want stronger cheeks and a defined nose, sculpt by drawing a needle through the head between the eye positions before closing it.
Frill bumps make 5
The five bumps are worked flat in rows, not rounds. After each row, ch 1, turn, and work back across the row you just completed. All three sizes start the same way and simply stop at different rows, so the finished set graduates neatly from the centre of the frill outward.
Large bump make 1
Row 1mr, sc 3 [3]
Row 2inc × 3 [6]
Row 3(sc 1, inc) × 3 [9]
Row 4(sc 2, inc) × 3 [12]
Row 5(sc 3, inc) × 3 [15]
Medium bump make 2
Rows 1–4Work as the large bump through Row 4 [12]
Small bump make 2
Rows 1–3Work as the large bump through Row 3 [9]
Tie off each bump with a long sewing tail and weave in the strand from the magic ring so the centre cannot loosen later. Lay all five pieces out in order before sewing: large in the middle, then a medium and a small on each side. If any bump looks out of proportion with its neighbour, redo it now rather than after it is attached.
Horns make 3
Three horns match the animal this snuggle is based on: one short horn on the snout and a taller pair above the eyes. The forehead pair gains a round of increases, which is what makes them larger than the nose horn.
Forehead horns make 2
Round 1mr, sc 6 [6]
Round 2sc around [6]
Round 3(sc 2, inc) × 2 [8]
Round 4sc around [8]
Nose horn make 1
Round 1mr, sc 6 [6]
Round 2sc around [6]
Finish off each horn with a long sewing tail. The pieces are small enough that they hold their shape unstuffed; a tiny wisp of fiberfill in each forehead horn will make it stand a little prouder if you prefer.
Legs make 2
Each leg is a long tube with a defined base. The back-loops-only round creates a crisp fold where the sole meets the side, so the leg reads as a foot rather than a simple cylinder.
Round 1mr, sc 6 [6]
Round 2inc × 6 [12]
Round 3(sc 2, inc) × 4 [16]
Round 4BLO sc around [16]
Rounds 5–16sc around for 12 rounds [16]
Finish off with a long sewing tail. Fold the open end flat and sew it closed through both layers, then embroider three short toe lines across the base above the back-loop fold. Make both legs before attaching either one so you can compare their length and toe placement.
Assembly and placement
Lay the blocked blanket flat and pin every piece before sewing anything. Because the head sits in the exact centre of a square, small placement errors are very visible, so measure from two opposite corners before you commit.
- 1
Build the frill. Sew the five bumps around the back of the head: the large bump at the top centre, one medium bump on each side of it, then one small bump beyond each medium bump. Pin all five first and check the curve from behind.
- 2
Set the horns. Sew the small nose horn to the tip of the snout, then attach the two forehead horns a few rounds back from the eyes. Check that the pair is level with each other and symmetrical about the centre of the face.
- 3
Centre the head. Find the middle of the blanket by folding it corner to corner in both directions. Pin the head over that point using the long tail left at its base, then sew right around the join so no gap remains where a small finger could catch.
- 4
Attach the legs. Place one leg one or two blanket rounds to each side of the head, angled slightly outward so the finished snuggle looks balanced when held up. Sew each leg down securely across its full closed end.
Final checks
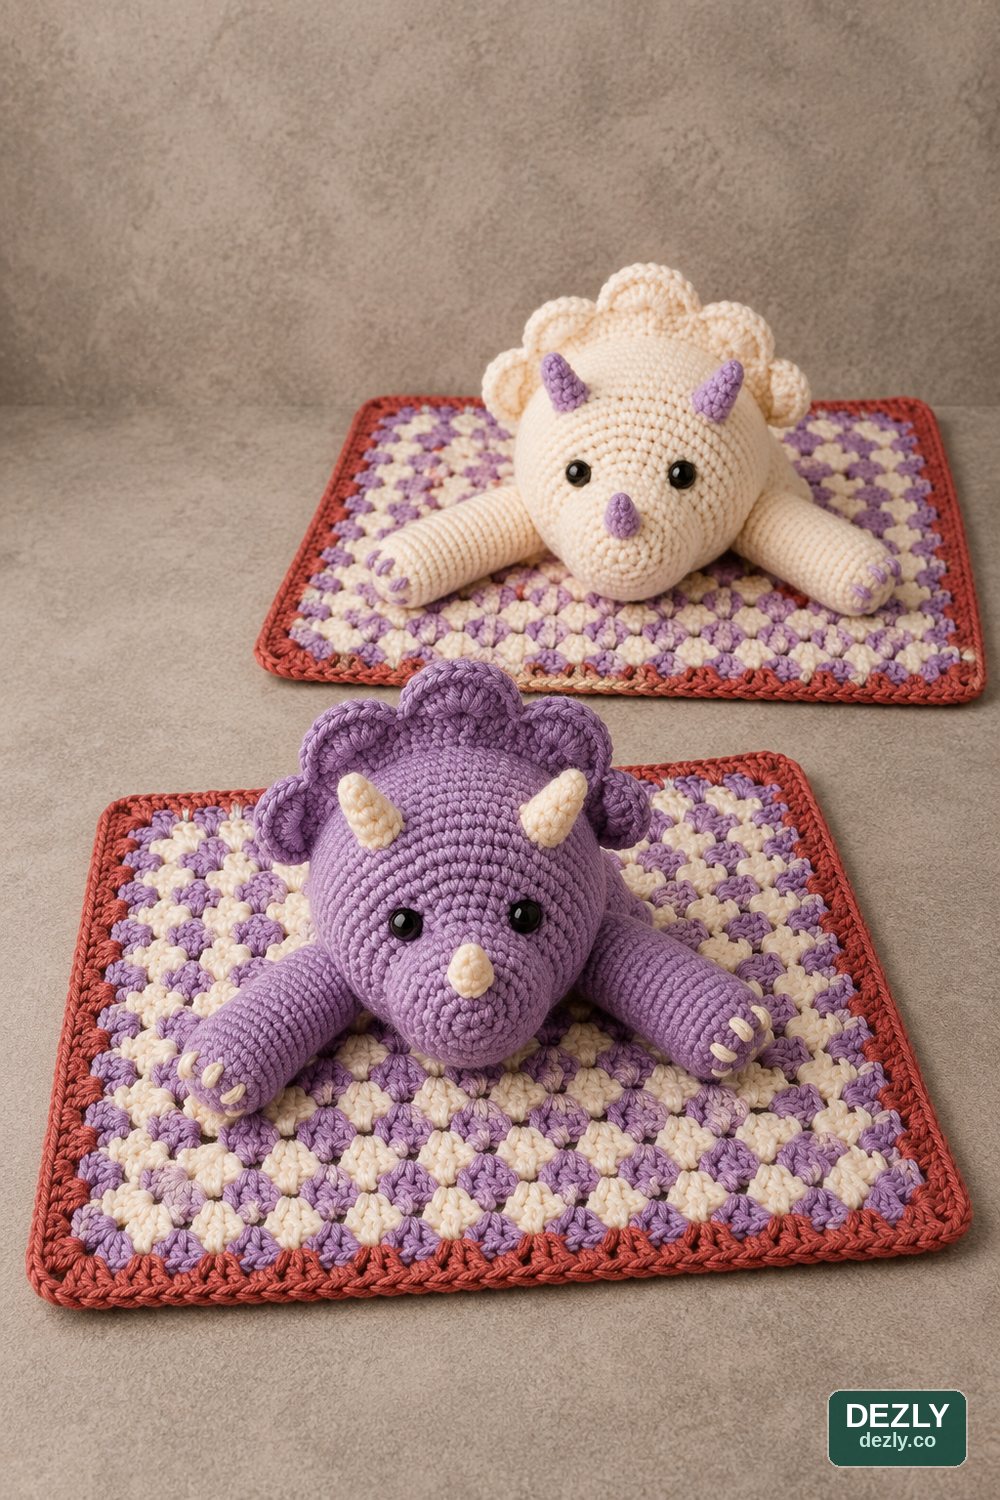
- Count the frill: one large bump, two medium, and two small, for five in total.
- Count the horns: one on the snout and two above the eyes, for three in total.
- Confirm the eyes are level, nine stitches apart, and sitting above the muzzle ridge.
- Check that all four sides of the blanket carry the same number of clusters.
- Tug gently on the head, horns, bumps, and legs, and reinforce any seam that shifts.
- Hide every remaining yarn tail inside the work, and use embroidered eyes for any recipient under three.
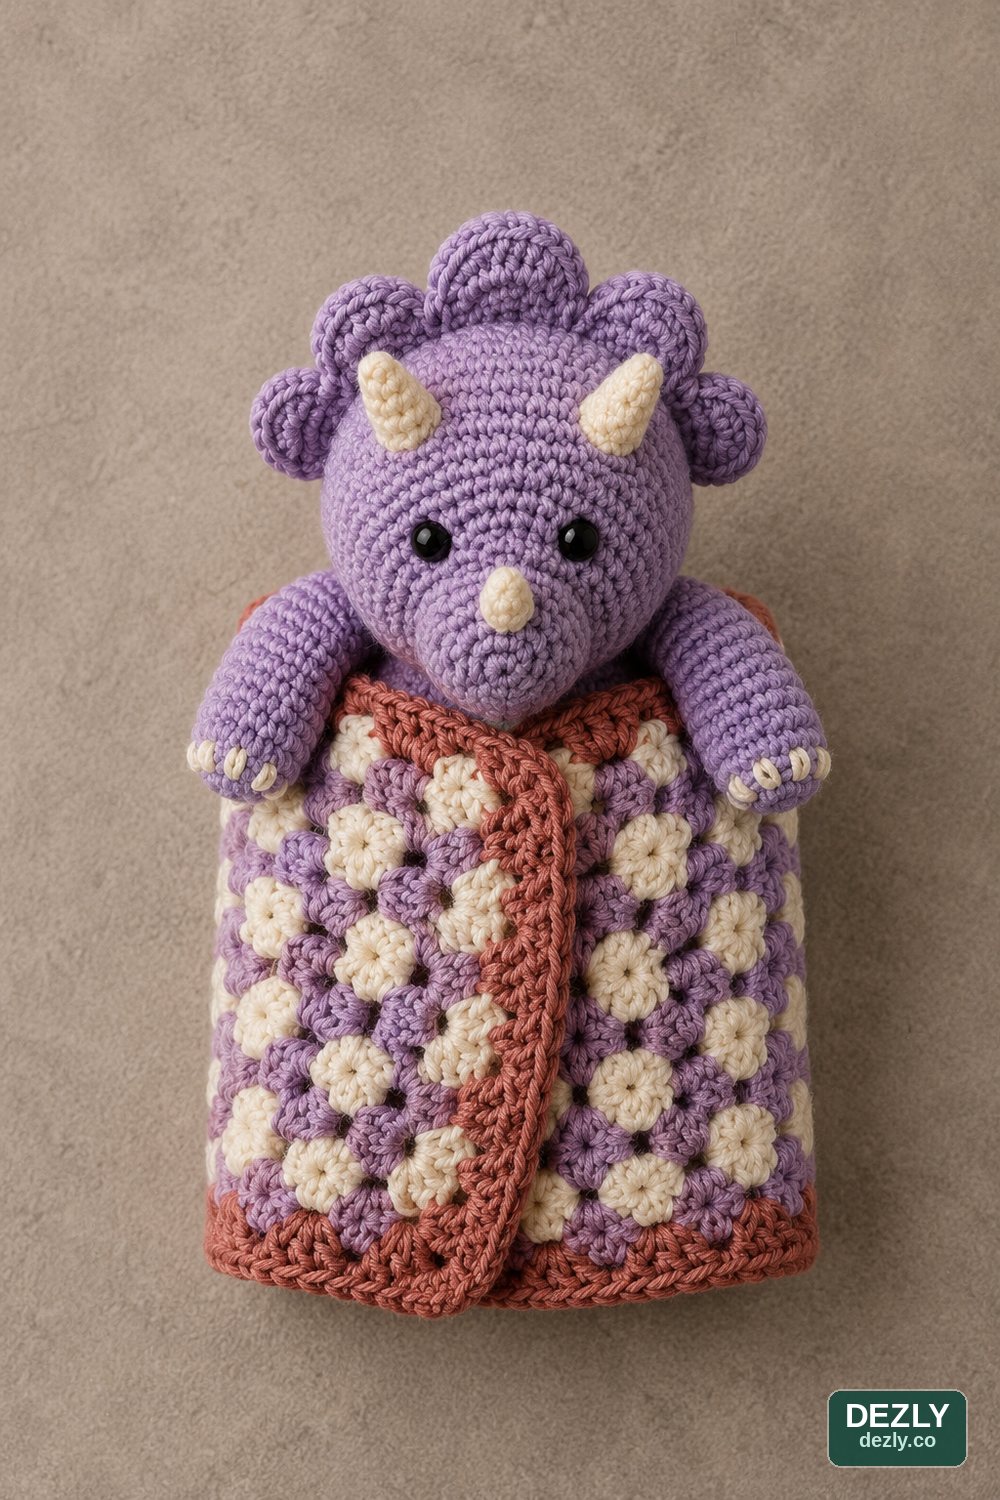
The triceratops snuggle is now complete. You can restripe the blanket, extend it past Round 14 for a larger throw, or embroider the eyes and toes in a contrasting colour while keeping every stitch count in this pattern unchanged.
Know someone making a gift for a baby?
Send the canonical article link so they receive the corrected granny-square repeat, the cluster-count clarification, and the safety guidance.